

Picture this: you’ve come home after a hectic workday and plugged in your Tesla, but your Tesla Wall Charger has decided to take an unplanned coffee break.
Fret not, because, in this guide, we’ve got your back!
When your trusty charger throws a tantrum and refuses to cooperate, we’ve compiled a comprehensive set of troubleshooting steps to get it back in the game.
Say goodbye to charging woes and hello to a seamless Tesla driving experience. Let’s dive into the world of Wall Charger issues and uncover the solutions you’ve been searching for!
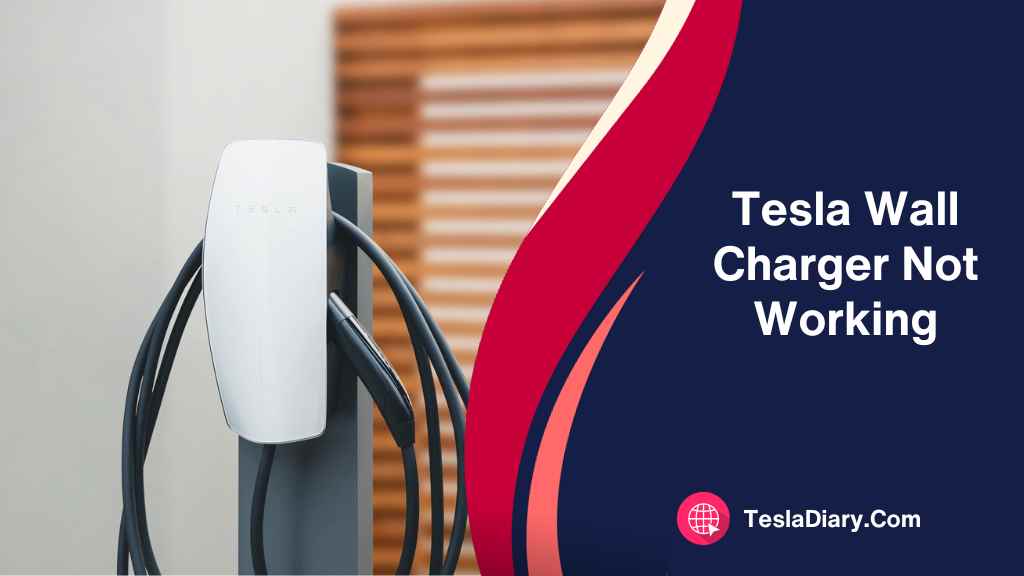
Troubleshooting the Tesla Wall Charger that’s Not Working
We’re going to troubleshoot the charger based on the symptoms that the charger and the vehicle show-
1. No Light in the Wall Charger
Issue: The Tesla Wall Charger displays no lights when connected.
Troubleshooting Steps:
The first and most straightforward step in troubleshooting a non-responsive Tesla Wall Charger is to inspect the circuit breaker. Ensure that it has not tripped; if it has, turn it off and then back on to restore power to the charger.
If the circuit breaker is not the issue, and there is still no light on the charger, it is possible that there is internal damage to the charger.
In such cases, replacement may be necessary.
However, before considering a replacement, check if there is any wire damage from the circuit breaker to the Wall Connector. This can help rule out any transient power-related issues.
2. Red Light Blinking on the Charger
When the Tesla Wall Charger displays a blinking red light, the number of blinks conveys specific information about the issue.
Issue: The Tesla Wall Charger has a blinking red light.
Troubleshooting Steps:
i. Solid Red Light:
A solid red light typically indicates internal damage to the charger, which may necessitate replacement.
As a preliminary step, turn the circuit breaker off and then back on to rule out any power-related issues.
ii. One or Two Blinks of Red Light:
One or two red light blinks indicate a grounding fault within the charger’s system.
Start by inspecting the charging cable for any visible tears or damage.
Additionally, check for water on the charging device and ensure that all electrical connections are secure.
If the problem persists, it is advisable to consult a professional electrician for a thorough inspection and potential repair.
Proper grounding is extremely critical for the safety of your home and the vehicle. So, I wouldn’t advise you to wait on this thing. The sooner you solve the issue, the better.
iii. Three Red Blinks:
Three red blinks signal that the charger’s temperature has exceeded safe levels for charging.
Allow the charger to cool down naturally. If the charger is exposed to direct sunlight, consider relocating it to a shaded area to prevent overheating.
If this issue occurs frequently, investigate the reasons behind the excessive heat, such as poor ventilation, internal issues, or overuse of the charger.
iv. Four Red Light Blinks:
Four red light blinks indicate a Wi-Fi disconnection, which can lead to the disabling of online features.
To address this, check your home Wi-Fi network and connectivity settings to ensure that there is no issue in the router settings.
Additionally, make sure your Tesla Wall Charger is connected to wifi properly to maintain optimal functionality. Sometimes, WiFi gets glitchy and a simple reconnection will do the trick for you.
v. Five Red Blinks:
Five red blinks suggest a communication problem between the charger and the car, resulting in reduced charging speed.
Verify the condition of the charging cable, the connection between the car and the charger, and the voltage levels.
More often than not, the issue is with you not properly aligning the connector to the charge port or not pushing it all the way in. So, make sure there is a good connection between the Wall Connector and the Car’s charge port.
Also, ensure that the charger’s software is up to date to avoid compatibility issues that might hinder communication. To update the software, you will need to-
- Connect to Wall Connector’s WiFi
- Go to http://192.168.92.1/update
- Update the firmware and your Wall Connector will reboot.
vi. Six Red Light Blinks:
Six red blinks signify that the charger is detecting a voltage higher than expected. This may be due to issues with the electrical supply.
To resolve this problem, consult a qualified electrician to address potential overvoltage issues and ensure the electrical supply meets Tesla’s specifications.
Sometimes, voltage fluctuates for some reason I don’t know about but it gets resolved within a couple of hours. Unless the issue persists, I would recommend trying to charge the vehicle when the voltage is stabilized.
vii. Seven Red Light Blinks:
Seven red blinks indicate that the current setting on the charger is not configured correctly, leading to an overcurrent condition.
Generally, your vehicle will set the current level automatically based on the charger you are connected to and its capability. Sometimes, this gets glitchy and an overcurrent issue occurs.
To solve this, simply reboot the Tesla center control by following this process-
- Disconnect the charger from Tesla.
- Enter the vehicle and turn off all windows and doors.
- Press the brake pedal all the way down.
- Simultaneously press both the buttons on the steering wheel.
- Keep the brake pedal engaged and buttons pressed until the touchscreen turned off and on again.
- Now, check if the issue persists or not.
If the issue persists, you may need to have your car checked by a certified Tesla service center.
No Light in the Charging Port
Issue: When the Tesla Wall Charger is connected, there is no light in the charging port of your Tesla vehicle.
Troubleshooting Steps:
In cases where no light is visible in the charging port, it may be because your Tesla is locked and in sleep mode.
Unlock your car to activate the charging port light. This is a standard behavior in Tesla vehicles to conserve energy when not actively charging. No need to worry about.
Light in the Charging Port
When a light is visible in the charging port, its color and behavior can provide valuable insights into the charging status.
Issue: There is a light in the charging port of your Tesla vehicle.
Troubleshooting Steps:
Solid Amber Light:
A solid amber light in the charging port suggests that the connector is loose or misaligned with the charging port.
Such a condition can result in slower charging speeds. Ensure that the connection between the charging cable and the car’s port is secure and properly aligned to facilitate optimal charging performance.
Solid Red Light:
A solid red light in the charging port indicates a charging error, preventing your Tesla from charging.
Check the touchscreen display inside your car for any fault messages or notifications.
To resolve the issue, follow these steps:
a. Reset the Charger:
Begin by unplugging the charging connector from the car’s port and then turning off the circuit breaker controlling power to the Wall Connector.
Wait for a few moments before reconnecting the cable to the charger and then the car’s port. This simple reset procedure can often resolve minor charging issues.
b. Reboot Your Tesla:
Rebooting your Tesla can sometimes resolve software-related charging problems.
To do this, press and hold both the scroll wheels on the steering wheel until the Tesla logo appears on the touchscreen.
This may take about 10 seconds. Release the scroll wheels, and the car will reboot.
c. Check for Fault Messages:
On the touchscreen display inside your car, navigate to the charging section and check for any fault messages or notifications.
These messages can provide specific information about the charging issue, allowing you to take appropriate action.
d. Contact Tesla Support:
If none of the above steps resolve the issue, it’s advisable to contact Tesla’s customer support for further guidance. They can diagnose the problem and provide recommendations or schedule service if necessary.
Conclusion
Tesla Wall Charger is a fantastic addition to your Tesla ownership experience, offering fast and convenient charging at home. However, like any technology, it may encounter issues from time to time.
By following the comprehensive troubleshooting steps outlined in this guide and considering the additional tips and considerations, you can confidently address charging issues and ensure that your Tesla is always ready for your next journey.
If problems persist or if you have concerns about the condition of your Tesla Wall Charger, do not hesitate to seek assistance from Tesla’s customer support or consult a qualified electrician for professional guidance and potential repairs.
With proper care and maintenance, your Tesla Wall Charger will continue to serve as a reliable and efficient means of charging your Tesla EV, contributing to a seamless and enjoyable driving experience.