

Tesla’s Supercharger network is renowned for its fast and convenient charging capabilities.
However, encountering issues with DC fast charging can be frustrating and may leave you wondering why your Tesla is unable to DC fast charge.
In this comprehensive guide, we will explore seven detailed solutions, complete with step-by-step instructions, to help you address and resolve the problem effectively.
How to Fix Tesla Unable to DC Fast Charge?
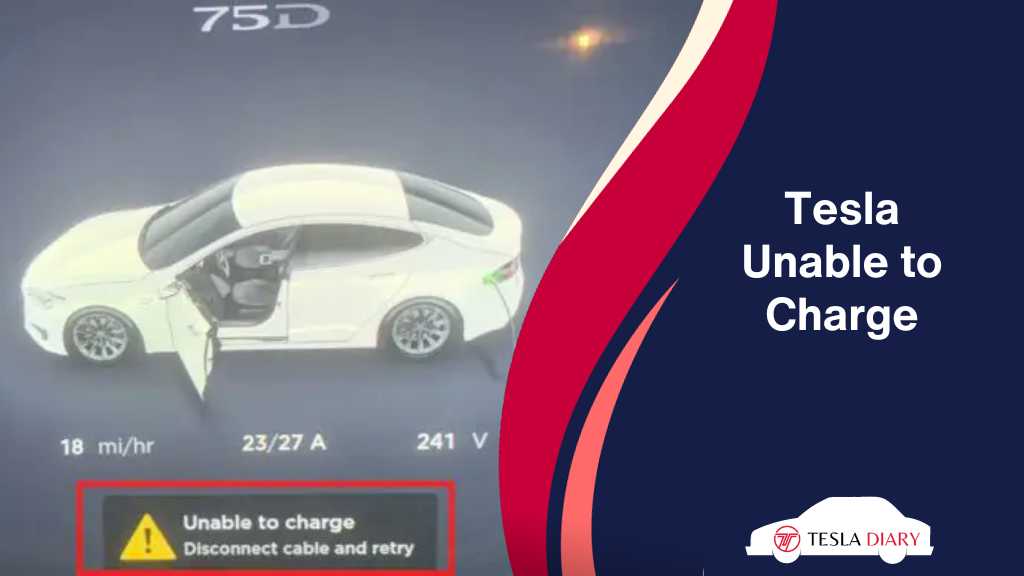
If you encounter an ‘unable to charge’ prompt on the screen, disconnect the charger and reconnect it after checking for dirt or damage. If the issue persists, try rebooting the center touch control and rebooting the Tesla. These three fixes are the most effective in dealing with charging issues.
There are multiple ways you can try before contacting Tesla support. Most times, you can get the issue resolved without any professional intervention.
1. Supercharger Check
Start with a thorough Supercharger station check:
Step 1: Unit Availability
To begin, verify that the Tesla Supercharger station you’re using is operational. This can be easily done through the Tesla mobile app or your car’s navigation system.
Simply open the app or navigate through your car’s touchscreen interface to check the station’s status.
If the stall is not operational, changing to a working supercharging stall can do the trick.
Step 2: Inspect the Connector
A common issue affecting fast charging is a poorly connected or damaged charging connector. To address this, follow these steps:
- Examine the charging connector closely for any visible damage, such as bent pins or signs of wear and tear.
- Ensure that the connector is free from debris or foreign objects. If necessary, gently clean it to establish a clean connection.
- Make sure the connector is properly seated in your vehicle’s charge port. Listen for a click or feel for a secure connection.
2. Restart Tesla Center Console
Sometimes, the issue can be resolved by restarting your Tesla’s center touch console.
To perform a soft restart, follow these simple steps:
- While seated in the driver’s seat, press and hold both the left and right steering wheel scroll buttons simultaneously for about 10 seconds.
- Release the buttons when the center console display goes blank and the Tesla “T” logo reappears.
- Your center console will reboot.
This soft restart may resolve minor software-related issues that could be impacting DC fast charging.
3. Restart the Tesla
Restarting the entire vehicle can help in some cases. This can be an effective way to address significant software-related issues. Here’s how to perform a hard reset:
- While seated in the driver’s seat, press the brake pedal and release.
- Go to Controls > Safety
- Select Turn Off
- Turn the car back on.
Now, attempt the fast charge again to see if the problem persists or not.
4. Check Billing Details
Ensure that your billing details are up-to-date. Outdated or incorrect payment information associated with your Tesla account can prevent you from accessing Superchargers.
Here’s how to check and update your payment details:
- Access your Tesla account on the Tesla website or through the Tesla mobile app.
- Navigate to the billing or payment section.
- Update or verify your payment information to ensure it is accurate and up-to-date.
If there is any due payment that got declined, pay that first before attempting to charge your vehicle in a DC fast charging station.
5. Charging Port Issues
Inspect and address charging port-related problems:
Step 1: Physical Inspection
Your charging port’s condition is crucial for a successful charging session. Here’s how to inspect and address charging port issues:
- Carefully examine the charging port for any visible damage, such as bent or misaligned pins, debris, or obstructions.
- Ensure that the port is clean and free from foreign objects. If necessary, gently clean it to establish a clean and secure connection.
- Verify that the charging door closes properly and seals the port securely.
Step 2: Connector Fit
A proper connection between the charging connector and port is essential for efficient charging. Ensure the following:
- When inserting the charging connector, do so gently but firmly to ensure it is fully inserted.
- Listen for a click or feel for a secure connection to confirm that the connector is properly seated in the port.
6. Battery Not Conditioned
Battery conditioning can impact fast charging. Consider preconditioning the car before attempting to charge the vehicle.
In extremely cold conditions, your Tesla’s battery may not accept a fast charge immediately. To address this, follow this:
Drive the vehicle for a short distance to warm up the battery before attempting fast charging. This allows the battery to reach an optimal temperature for efficient charging.
Also, you can select the fast charging charger as your destination which will cause your car to automatically precondition before you reach there.
7. Software Update
Tesla vehicles receive regular software updates that can impact charging performance.
Ensuring that your Tesla’s software is up-to-date is crucial for resolving charging-related issues. Follow these steps to check for and install available updates:
- Access your Tesla’s Controls menu, found on the center console touchscreen.
- Navigate to the ‘Software’ section.
- Check for any available software updates and install them if prompted. Some updates may specifically address charging-related issues.
Wrap Up
By following these detailed step-by-step instructions, you can effectively address most issues related to Tesla’s inability to DC fast charge.
Remember that if the problem persists despite your best efforts, it’s advisable to contact Tesla’s customer support or visit a Tesla Service Center for professional assistance.
Maintaining your Tesla and staying updated with software releases will help ensure a smooth and efficient charging experience, keeping you on the road with minimal disruptions.